


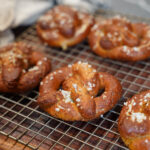
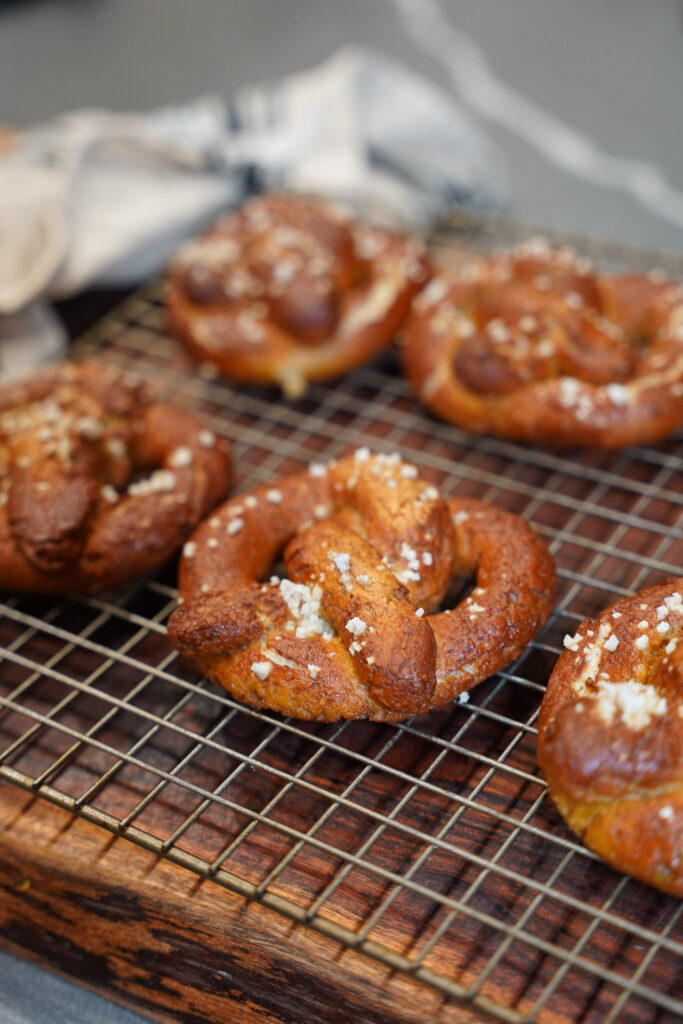
Making things from scratch can have its reward – and they might just look like tiny little hearts sprinkled in salt.
These little dough delights are my family’s new favorite snack. I’ll be honest, it isn’t the quickest recipe in the book, but it is worth the time.


Ingredients
YEAST MIXTURE
- 1 1/2 Cup Whole Milk (warmed)
- 3 TBS Brown Sugar
- 2 1/4 tsp Active Dry Yeast Not Instant
DOUGH
- 1 1/4 Cup Tapioca Flour
- 1 1/2 Cup + 2 TSB Oat Flour I made my own (2 Cups of Oats in the blender, you'll have a little extra)
- 1/2 Cup + 2 TBS Sorghum Flour
- 1/2 Cup + 1 TBS Corn Starch
- 2 tsp Sea Salt
- 1/4 Cup Melted Butter
PRETZEL BATH
- 8 Cup Water
- 1/3 Cup Baking Soda
AFTER BATH, BEFORE OVEN
- 1 Egg + 1 TBS Water Egg Wash
- Sprinkled Coarse Sea Salt
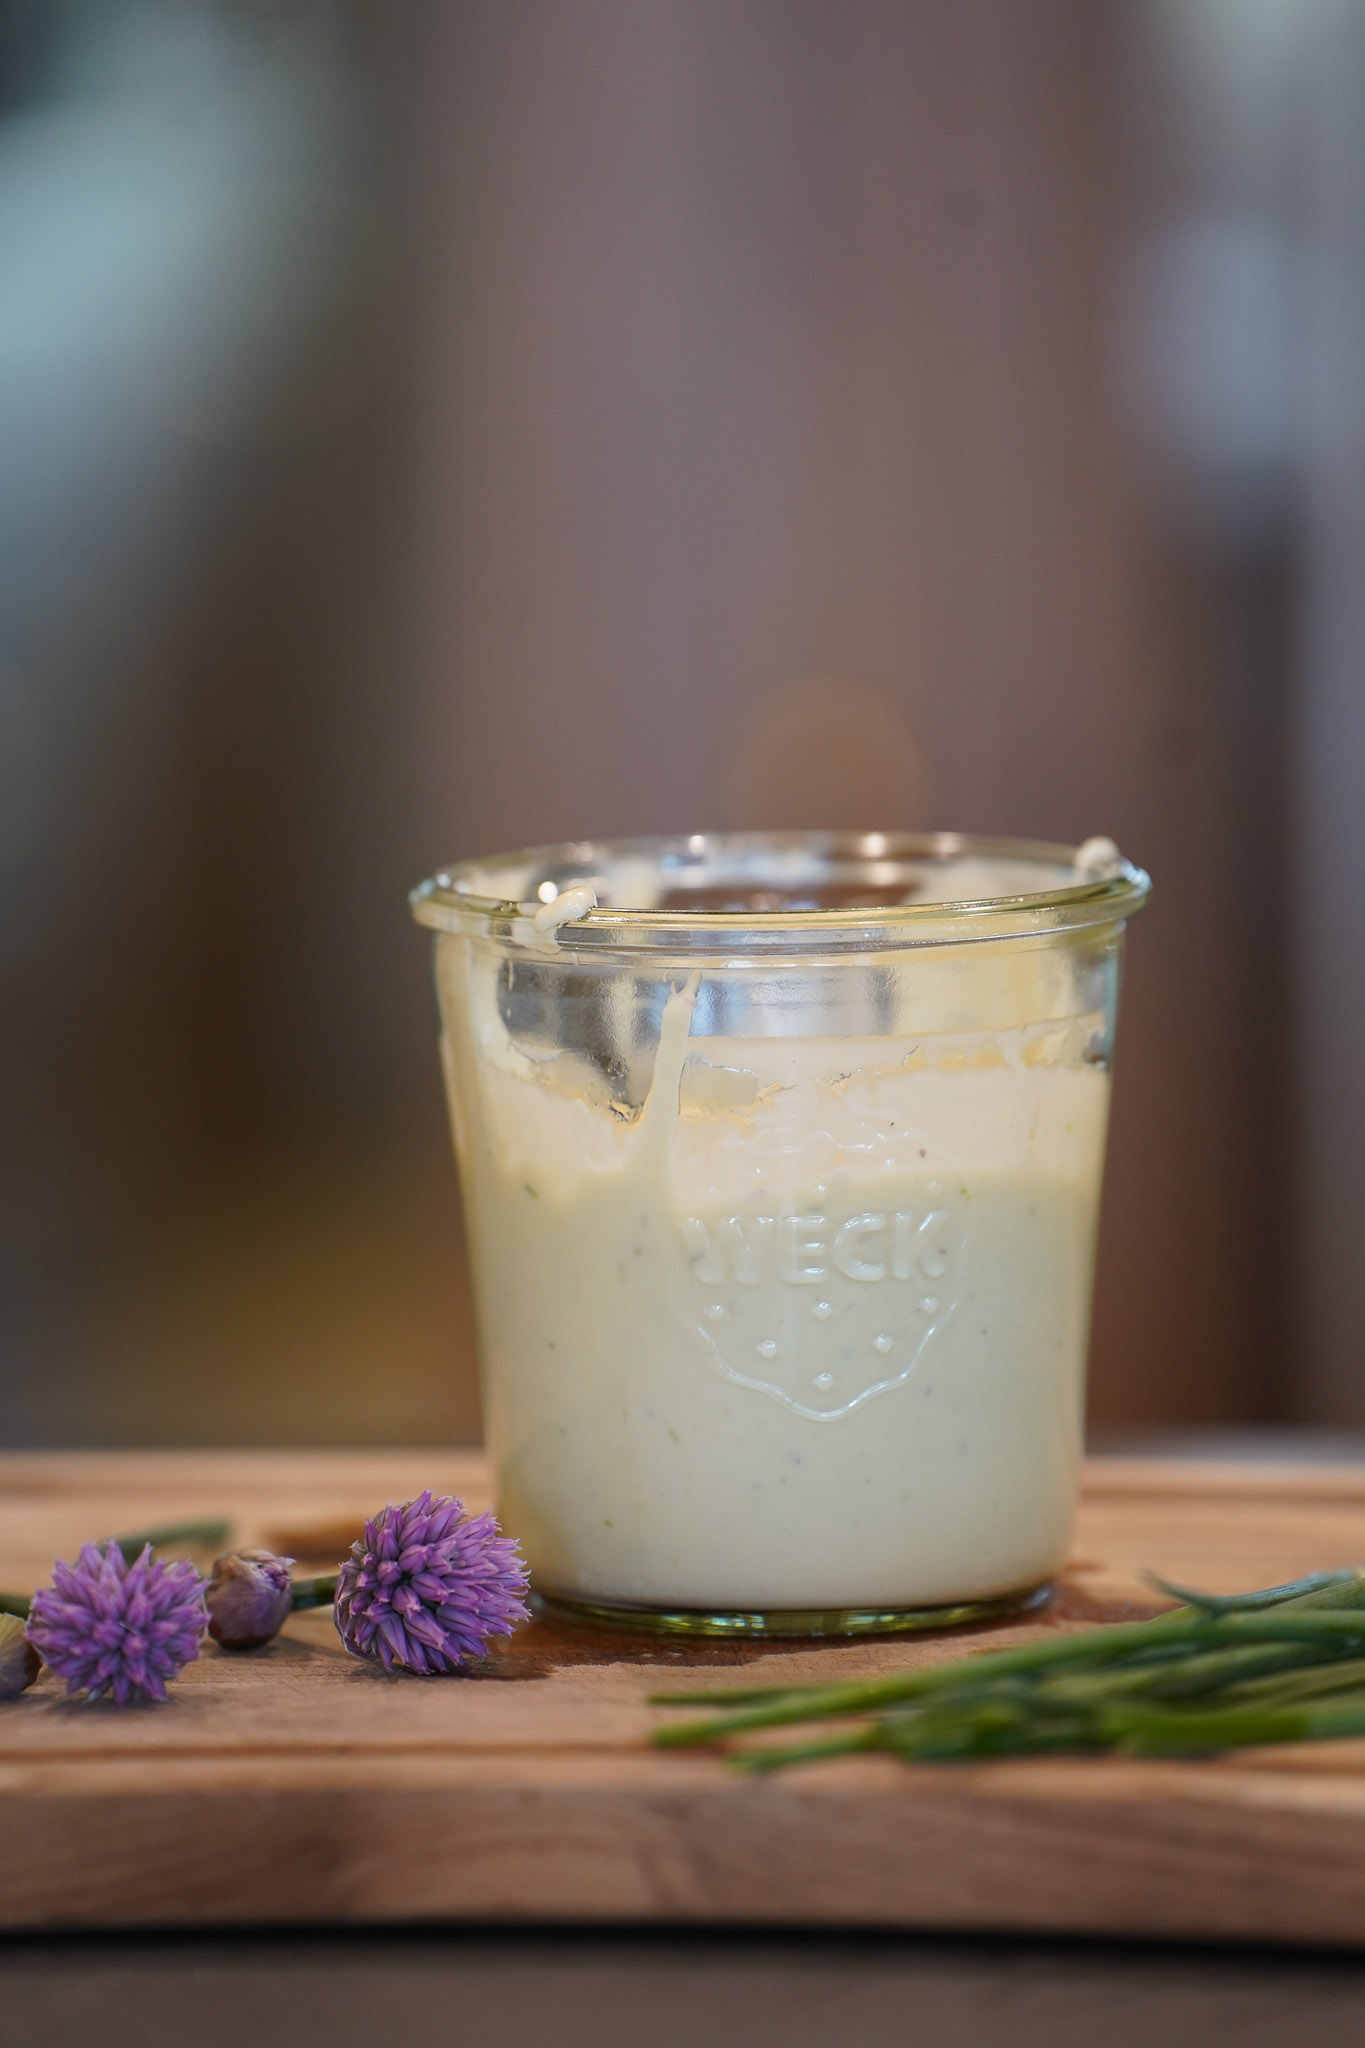
CHEESE SAUCE (Optional but worth it)
- 1 TBS Butter
- 1 TBS GF Flour
- 1 Cup Milk
- 1/2 tsp Smoked Paprika
- 1/2 tsp Mustard Powder
- 1/2 tsp Salt
- 1/4 tsp Pepper
- pinch Cayenne Pepper
- 1/2 TBS Worcestershire Sauce
- 1 Cup Any Cheese (We use aged cheddar)
Instructions
- Warm your milk until it reaches 105 – 115 F (you don't want it to be too hot or it could kill the yeast).
- While your milk is warming, add your brown sugar to the base of a bowl or large pyrex glass measuring cup. Pour your warmed milk on top of the sugar and mix. Sprinkle your Yeast on top and give a light mix – set aside for 10min
- Combine all dough (dry) ingredients listed above in a mixing bowl (I prefer to use my stand mixer bowl, but you can also mix by hand). Once all the flours are combined, give a quick mix and then add your melted butter. Place on your stand mixer and add the dough hook attachment, start on low and add your yeast. Mix until fully combined.
- NOTE: The dough will be sticky… this is okay. Do not add anything extra to it. With wet hands (or lightly set your hands with tapioca) remove the sticky dough and place into an oiled bowl. You can kind of roll it around in the oil and the stickiness should subside / form a ball. Place saran wrap over the top of the bowl first, followed by a towel or cloth bowl cover and place in a warm location (I set my oven to the lowest temp and leave there). Let sit for an hour.
- This dough works best when moist. It can dry out quickly, so work fast during these next steps. Remove your dough from the bowl and cut into 8 equal amounts. I roll each of the 8 pieces into a little ball and place back into the oiled bowl. Because I work one at a time, I also leave the saran wrap draped directly over the remaining dough balls in the bowl to help keep them moist as I am forming the pretzel shape.
- Before I start making the pretzel shapes, I pre-heat the oven to 450 F and start the Pretzel Bath (8 Cups of Water + 1/3 Cup Baking Soda – bring to a boil).
- To make a pretzel shape, Roll into a line – if you feel the dough breaking apart, simply pinch the "break" and continue to roll together. After your dough reaches 8" or so, form a "U" shape. With the top of the "U" criss cross once, and then again. Pull the criss cross down to the base of your "U" and gently press. (It won't really stick to itself and that is okay). Gently place your pretzel on a lined cooking sheet and move onto the next.
- Once all your pretzels are shaped, your water should be boiling. Dip one pretzel at a time into the bath – set your timer for 25 seconds. Once the first pretzel is out and back on your lined cooking sheet, now you can do two-things at once. While the pretzel is in the bath for 25 seconds, the pretzel you just pulled out of the bath, place on your cooking sheet, cover with egg wash (smooth out the crinkles in your pretzel as you add the egg wash) sprinkle with Coarse Salt. During this time, your timer should go off and just repeat the process until all 8 are boiled, have the egg wash + salt.
- Next – add to your pre-heated oven for 15-17 minutes. Remember, pretzels are dark in color, they are not burning 🙂
- After 17ish min, remove and let cool on a wire rack so they don't get soggy!
Cheese Sauce
- Melt your butter in a sauce pan, then add in your flour. Mix until it becomes a thick, bubbly paste.
- Pour in your milk and mix consistently until it combines (also will be a thick paste like substance).
- Add in all your seasonings + Worcestershire sauceNOTE – I typically measure with the heart, so feel free to add a little more or a little less of each listed.
- Add in your cheese and stir until fully melted!
- Serve immediately!
Reheating Instructions
- This recipe only makes 8 pretzels… I'll be honest, with my family of 4, these don't last more than 2 days. They are absolutely the best straight out of the oven BUT if you have some leftovers, we just reheat for a little bit in the microwave the next day 🙂 (I store in a glass jar on the counter)


Wow! I love this recipe, makes me hungry! Thanks for sharing! I don’t love the cayenne pepper and probably will skip that but for the rest nomnom!
Xoxox
seryfashion.wordpress.com